Background image are added to element to suit design purposes, most time, designers add background image to a section or the entire body of the website. So in this tutorial we would be learning how to add a background image to an element using CSS, you can use the background-image property and here is how you can do it:
So I have a container with a progress bar and a button which I placed at the center of the webpage. Although the aim is to know to add background image to an element using Css but we could make it look realistic by adding some flesh in our html and Css.
Html

 <div class="container">
      <div class="progress-bar"><div class="progressMade"></div></div>
      <h2 class="progressValue"></h2>
      <button class="btn">Update</button>
 </div>
CSS

.container {
  width: 80%;
  height: 80vh;
  border: 1px solid grey;
  border-radius: 5px;
  margin: 10% auto;
  padding: 10px;
  background-color: #0056b3;
  background-image: url('./images/Food_category56.jpeg');
}

The CSS styling below is for the other content added to the main content.
.progress-bar {
  width: 100%;
  height: 20px;
  background-color: #f1f1f1;
  border-radius: 5px;
  border: 1px solid orangered;
  overflow: hidden;
}
.progressMade {
  width: 0%;
  height: 100%;
  background-color: #4caf50;
  transition: width 0.5s ease-in-out;
}

.btn {
  color: orangered;
  background-color: black;
  font-weight: 700;
  display: block;
  margin-top: 10px;
  padding: 5px;
  border-radius: 5px;
  outline: none;
  border: none;
}
Result
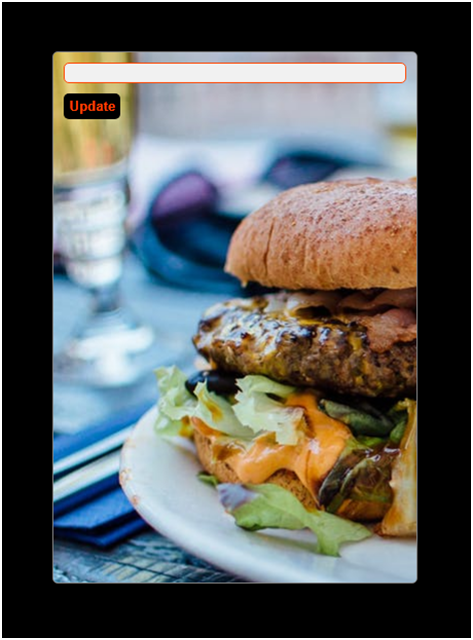
Other background properties which you can use to make your background image fit in well are
- Background-repeat
- Background-size
- Background-clip
- Background-Attachment
- Background-position
- Background-blend-mode
So I added some other background properties and our new Css code becomes
New CSS

.container {
  width: 80%;
  height: 80vh;
  border: 1px solid grey;
  border-radius: 5px;
  margin: 10% auto;
  padding: 10px;
  background-color: #0056b3;
  background-image: url('./images/Food_category56.jpeg');
  /* background-image: url('path/to/image.jpg');  */
  background-repeat: no-repeat;
  background-size: cover;
  background-position: center;
  background-blend-mode: difference;
}
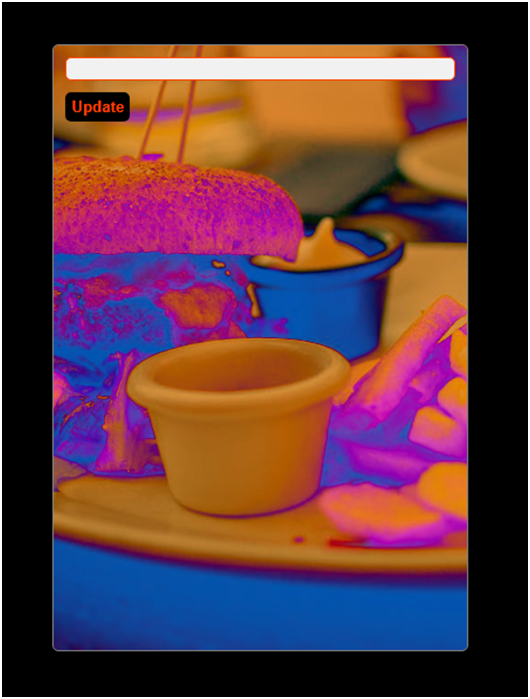
Result
In the above example, replace .element with the appropriate selector for your desired element, such as a class or ID selector.
Explanation of the CSS properties used
Background-image
This property sets the image URL as the background of the element. Replace ‘path/your_image_source_path/image.jpg’ with the actual path or URL of your image.
Background-repeat
By setting it to no-repeat, the background image will be displayed only once and won’t repeat.
Background-size
The cover value ensures that the background image covers the entire element without distortion. It may crop the image if the aspect ratios don’t match.
Background-position
if you look at the image, you would notice that the image is starting at from the left and it occupy the available space down to the right some of the right part is cut out, however, we can use background position to display the image from the center while spreading the width towards the four edges of the image.
You can adjust the CSS properties according to your specific requirements. In addition to what we have discussed, you can use other properties to control the positioning of the background image or apply multiple background images using background-image with comma-separated URLs.
check how you can create a responsive table using Html and Css
Hopefully, this tutorial gives you an idea how you can add background image to your element in your website.
Pingback: Responsive Form Using Html and Css - codeharis